In the era of digital technologies, the necessity to access the content of the whole world has soared. An IPTV (Internet Protocol Television) box is one of the most trending means of streaming TV shows, movies, and live channels. Suppose you are an Indian citizen who lives in the USA, you might want to remain in touch with the Indian television channels, local content, and Bollywood movies. An Indian IPTV box installation would offer you a great chance to watch the entertainment the likes of you enjoy, though you are on the other side of the world.
Nevertheless, installing an IPTV box outside of India, more so in the USA is somewhat tricky in the absence of technical knowledge of the requirements. But don’t worry! This is a guide that is going to be followed by step by step instructions and by doing so you can have your Indian IPTV box set up and ready at the quickest possible time in the USA.
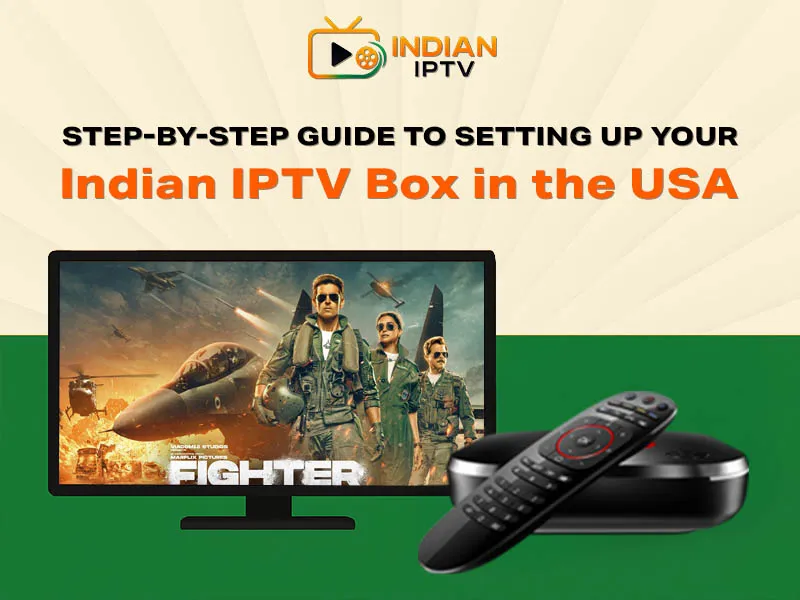
What is an IPTV Box?
An IPTV box can be described as an equipment, which allows you to streamline the television channels, movies and on-demand programs directly to your television set with the assistance of an internet connection. Unlike the traditional satellite or cable television, IPTV involves the use of the internet in broadcasting the content and this is why it is more flexible and accessible. The Indian IPTV boxes are configured in a special way in which it gives the Indian TV channels, the regional media and Indian movies directly before your TV screen and hence it is one of the choices that will be preferred by those living abroad.
Why Do You Need an Indian IPTV Box in the USA?
Indian TV channels and content may not be easily available in the USA where you may feel used to watching Hindi, Tamil, Telugu or other regional channels. Despite the availability of the Indian content on Netflix and the Amazon Prime Video streaming services, they do not offer everything offered by the Indian IPTV box.
Indian IPTV box has such advantages in the USA-
Live Indian TV Channels: Live casts of the Indian news and entertainment channels, and the local Indian channels are also available.
Regional Content: Check Indian channels that are available in the region like Zee, Star, Colors or any other channel which your language predetermines.
Cheap Subscription: IPTV subscription is not expensive compared to cable TV or satellite services.
On-Demand Content: You can watch movies, television series and sports content whenever you desire.
The Packages You need to establish your IPTV Box
Prior to getting one into the set-up process, you should be aware of prerequisites before getting down to the process of installation, so that you did not experience any kind of challenge as far as the installation and configuration were concerned.
Before sinking into the process of Indian IPTV setup, it would be nice to have an idea about prerequisites before beginning the installation process so that you would not live in trouble when it comes to the setting up and configuration process.
Indian IPTV Box: A person can buy an Indian IPTV box in the online shop or directly with an IPTV provider.
Internet Connection: The connection to the internet should be stable and fast. Ideally, 10 Mbps or more is the ideal speed to have broadband connection and be able to stream with ease.
TV: The set requires a smart TV or normal TV that has an HDMI port to connect the IPTV box.
HDMI Cable: The majority of the IPTV boxes utilise HDMI cable to connect to your television.
Remote Control: It will be included with the IPTV box, and will be used to navigate the channels and the menu.
Step 1: Unbox Your Indian IPTV Box
The first step is to unbox the IPTV box and ensure that all components are included. You should have:
- The IPTV box itself
- An efficient Power adapter
- A good HDMI cable
- Remote control
- User manual
Step 2: Connect the IPTV Box to Your TV
Once you have all the necessary components, it’s time to set up the physical connection.
- Plug the IPTV box into your TV: Use the HDMI cable to connect the HDMI output of your IPTV box to the HDMI port on your TV.
- Switch on the IPTV Box: Connect the IPTV box to a power outlet using the provided adapter. Turn the box on using the power button or remote control.
At this point, your TV should display the initial setup screen of the IPTV box. If it doesn’t, ensure that the TV is set to the correct HDMI input.
Step 3: Get Connected to the Internet
Since IPTV uses the internet to stream content, you’ll surely need to connect the IPTV box to your Wi-Fi network or use an Ethernet cable for a wired connection.
Wi-Fi Connection:
Go to the settings menu of your IPTV box.
Find the “Network” or “Wi-Fi” section.
Select your Wi-Fi network from the list and enter your Wi-Fi password.
Wired Ethernet Connection:
Plug one end of an Ethernet cable into the IPTV box and the other end into your router.
The IPTV box should automatically detect the wired connection.
After successfully connecting to the internet, the Indian IPTV box will check for updates and install them if needed. Make sure your internet connection is highly stable and fast so that there is no buffering or lagging during streaming.
Step 4: Install the IPTV App
The requirement of apps and software to stream the Indian content is built in most Indian IPTV boxes. But, just in case you are asked to install an app manually in your box, you can do it this way:
Go to the App Store: Click on the IPTV box menu and find the app store or a sub-section named “Apps” or market.
IPTV Providers Search: Tata Sky, Jio TV, Airtel TV, and others are some of the popular Indian IPTV apps. On the basis of your service provider, go and find the relevant app.
Install the App: When you have located the app, you should click on the “Install” button and leave it to install the app.
Step 5: Log in to Your IPTV Service
Once the app has been installed, you will be required to log in using your IPTV account. You must get an account with your IPTV service provider, in case you do not have one. Here’s how to log in:
Launch the IPTV application that you have downloaded.
Type in the username and password that was given to you by your IPTV service provider. When you are on a free trial, you may be required to provide some particular code or choose a trial option.
After logging in, you are supposed to have access to numerous live channels, movies, and TV shows.
Step 6: Set Your IPTV configuration
After having logged in, you should now customize the settings to your favorite:
Language Settings: The majority of IPTV boxes have the ability to change the language of the menu and the content. Select its language to your liking.
Picture Settings: Brightness, contrast and resolution settings can be adjusted to provide the optimal picture on your TV.
Audio Settings: In case you want to listen to content in stereo or surround sound, you can use the audio settings menu.
Step 7: Enjoy Indian Content!
All is done and now you need to relax and have fun with your Indian IPTV box. You have access to the live television channels, Netflix on Demand, and regional content of different areas in India.
Most of the IPTV boxes also have catch-up TV, which implies that you can watch programs which might have been missed before. There are also live sports channels, news, and others available in some of the boxes, and thus there is something that everyone will love.
Conclusion:
The Indian IPTV has an easy and simple process for set top box installation, only that one needs a stable internet connection, a compatible TV, and the IPTV box. Through these steps that have been stipulated in this guide, you will be in a position to fully enjoy Indian content in the comfort of your home. It is your favorite Bollywood film, your regional television programs, or your favorite cricket game, with an IPTV box you are in touch with what you watch and hear back